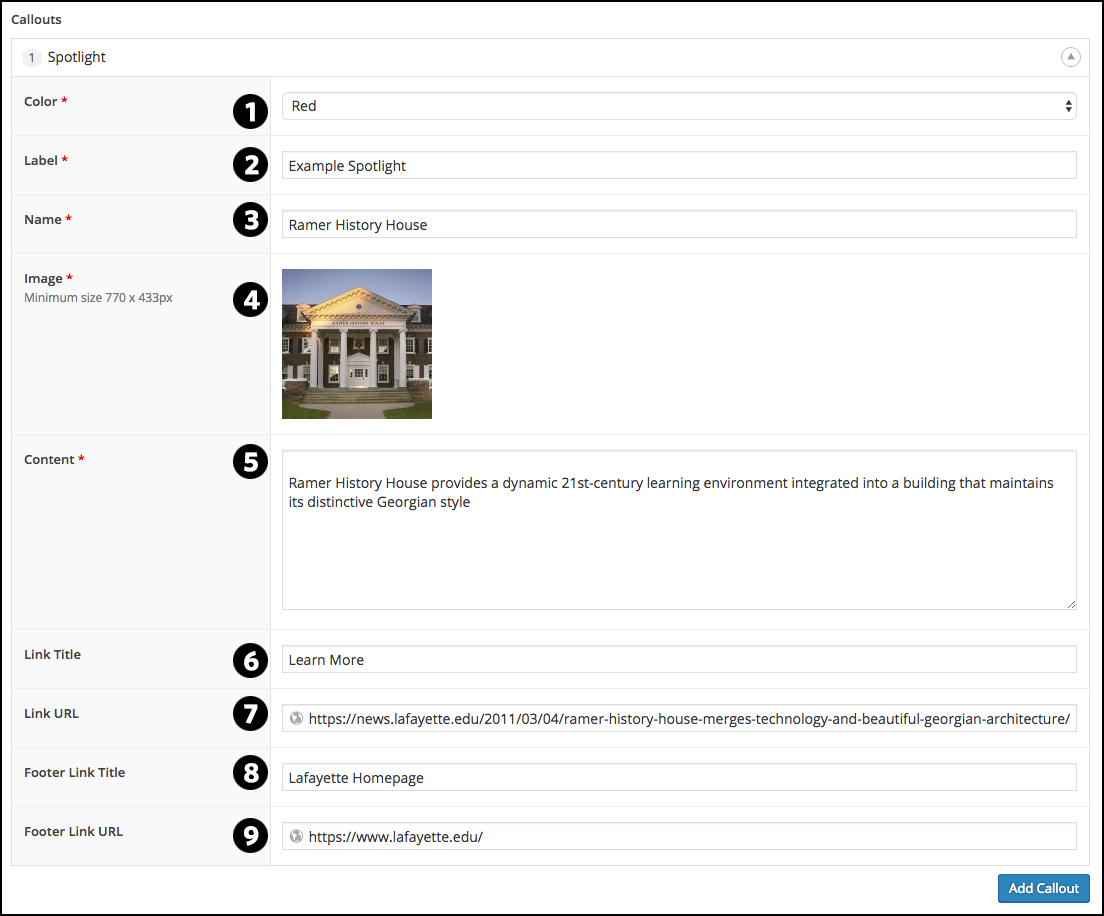
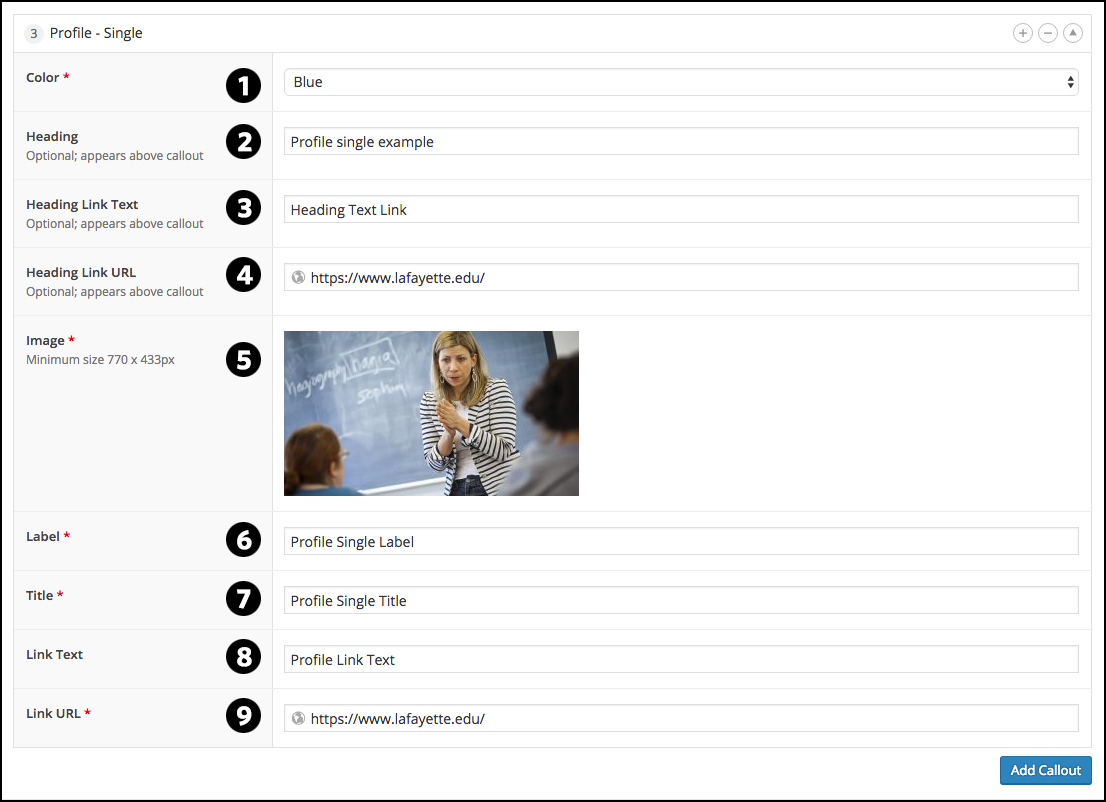
Chose the color theme of your profile. You can chose between dark grey, red, blue, or tan.
Input the heading text. This is large text that appears at the top of the profile.
Input the heading link text.
Input the heading link URL.
Select your image from the image gallery. The image needs to be a minimum of 770 x 433 pixels in width and height.
Input the profile label. This appears in the colored bar in the lower left of the photo.
Input the profile title. This is the text that appears in the colored box under the photo. You can put a title, a couple of words, or a very short paragraph here.
Input the URL for the link.
Select a footer link title. This is optional and won’t appear if not input.
Input the URL for the footer link.
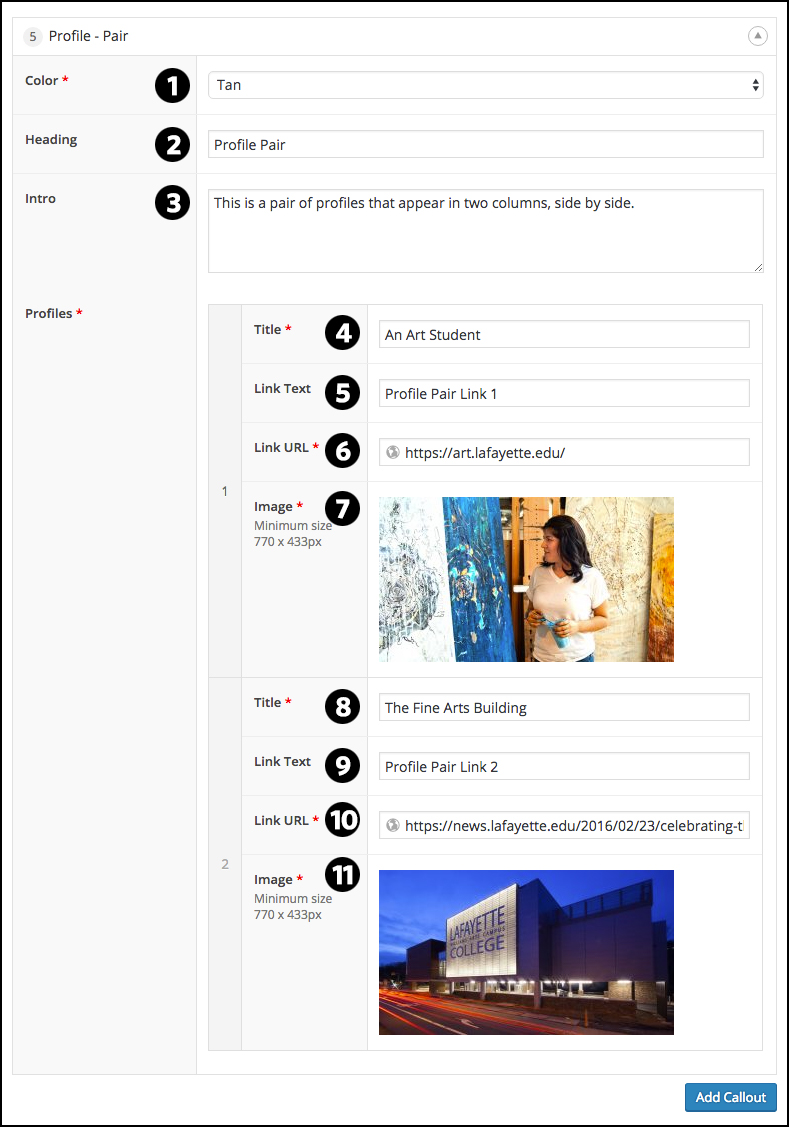
Profile Pair
This is a pair of profiles that appear in two columns, side by side.
Chose the color theme of the profile pair. You can chose between dark grey, red, blue, or tan.
Input the heading text. This is large text that appears at the top of the profile.
Input any intro text.
Input the title of the first (left-side) profile. This text will appear in the colored box under the photo.
Input the link text for this profile.
Place the URL for the link. A click anywhere within the left profile live area will bring the user to the linked page.
Select your image from the image gallery. The image needs to be a minimum of 770 x 433 pixels in width and height.
Input the title of the second (right-side) profile. This text will appear in the colored box under the photo.
Input the link text for this profile.
Input the URL for the link.
Select your image from the image gallery. The image needs to be a minimum of 770 x 433 pixels in width and height.
There is also the choice of using a profile group when there’s a need to profile more than two persons. Please see this link for more information on this component.
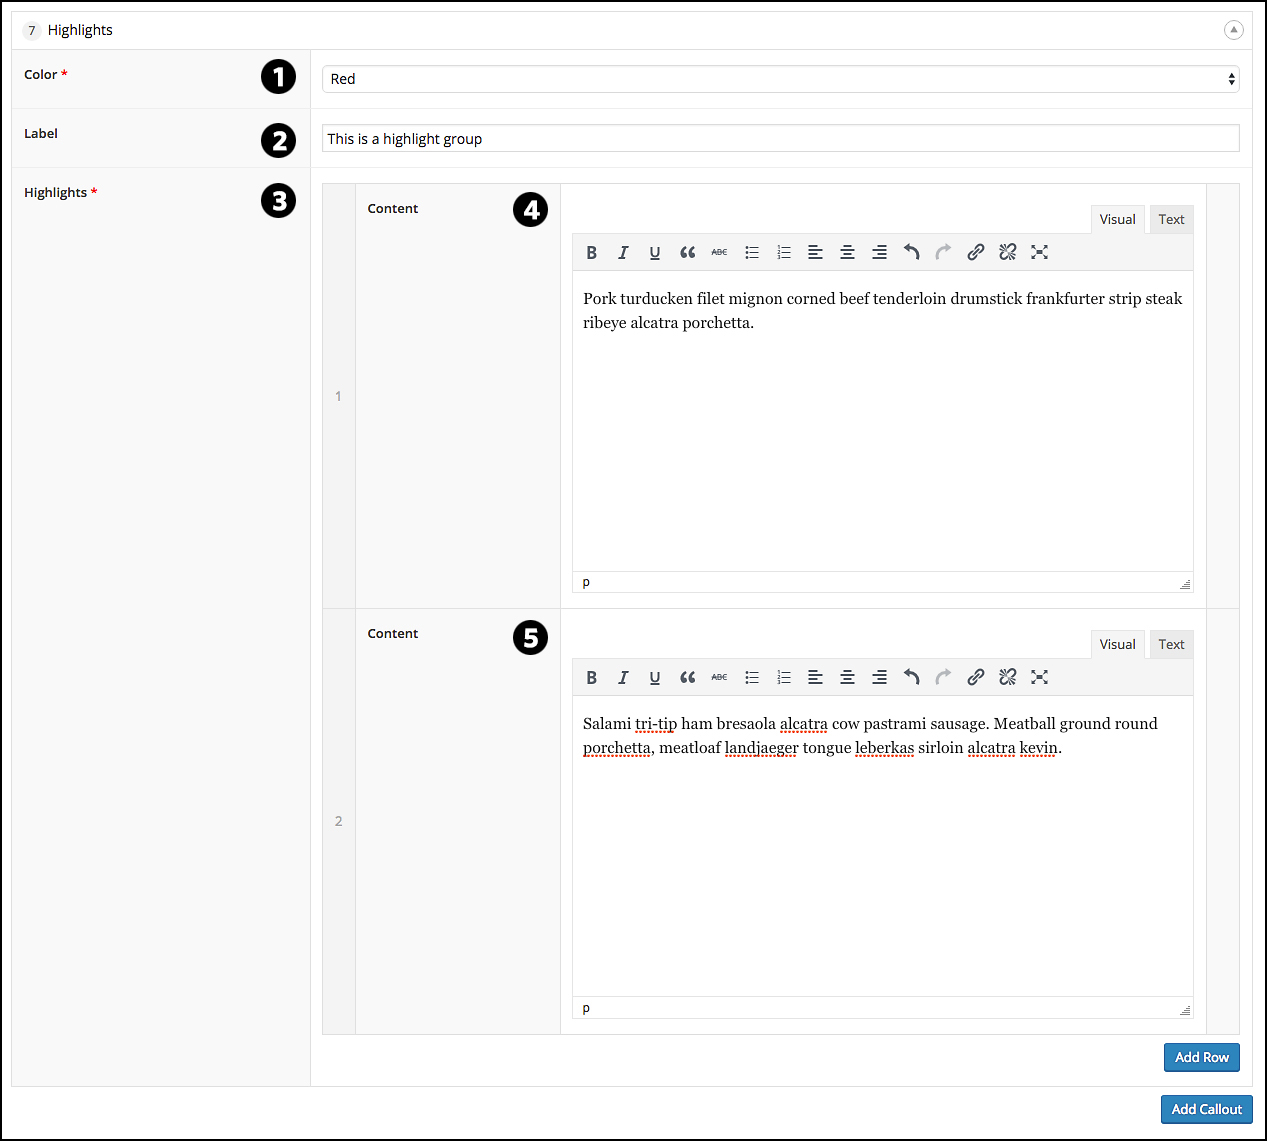
You can input one highlight, or have several highlights using the highlights component. The highlights component is meant to provide highlights for important points on a webpage. They are not well suited to highlighting specific events. There is an event promotion component that should be used to highlight an event described here. You cannot place a photo in the highlights component.
Chose the color theme of the profile pair. You can chose between red, blue, or tan.
Input the highlights label.
There is a content panel for each highlight.
Input content in the text field. There is the ability to format simple text here.
Input any subsequent blocks of test.
You may add several rows of content to a single highlight box. Click the Add Row button at the bottom of the Highlights panel to add another row. Each row will be separated by a thin rule. Please be aware that there is no ability to separate paragraphs within each content row.